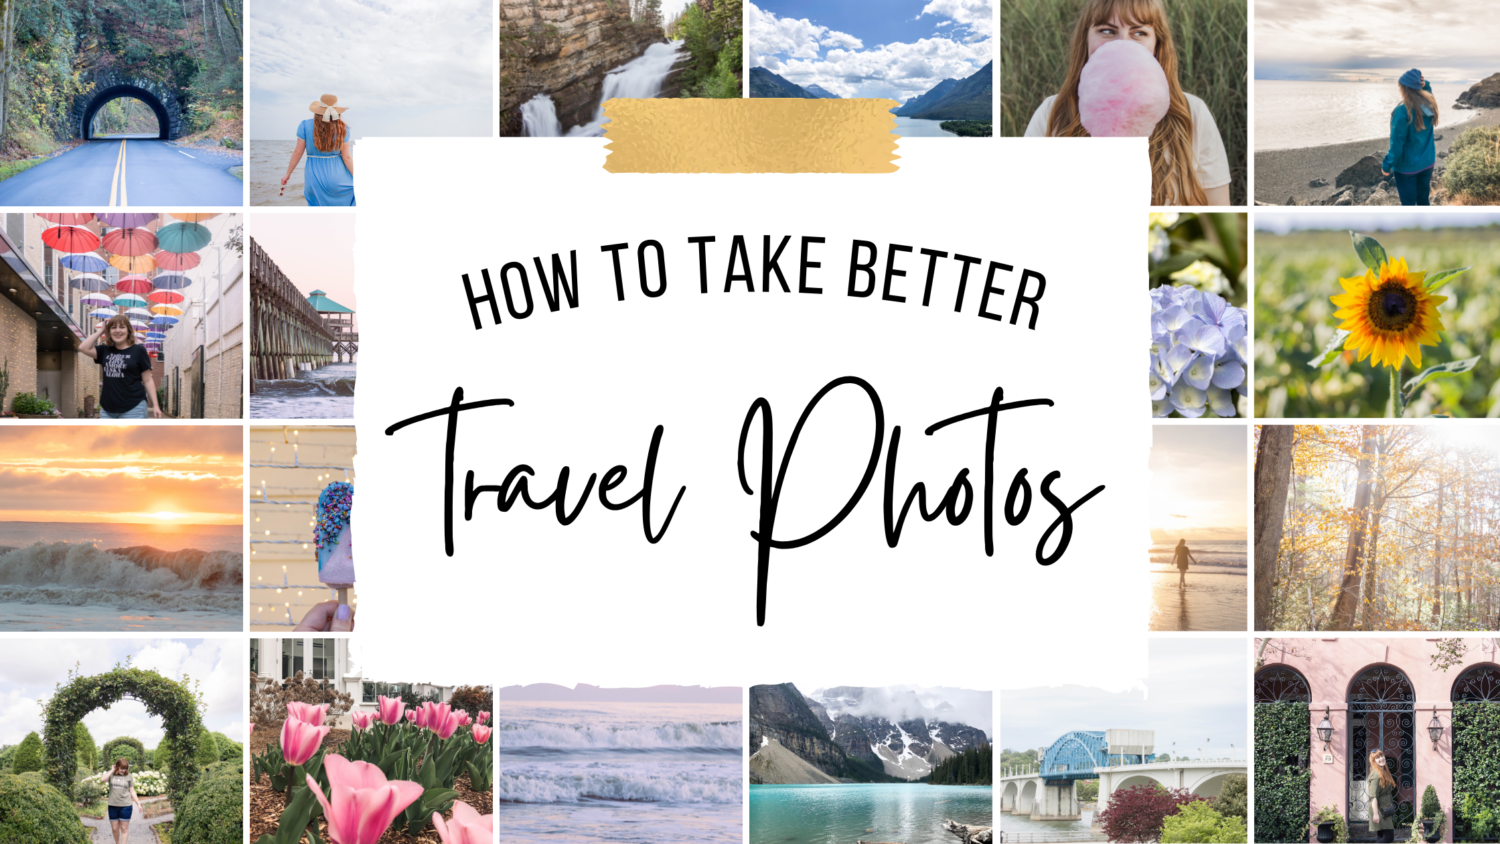
Do you ever see amazing travel photos on Instagram and think, “I wish my vacation photos looked like that!”
Taking better travel photos doesn’t have to be hard. Just by learning a few easy photography tips and paying attention to your surroundings, you can get the best travel photos you’ve ever taken.
Here are 12 tips for better travel photography!
This post may contain affiliate links. We may earn compensation when you click on the links in this post at no cost to you. For more information, see our terms and conditions. All opinions are my own.
Change Up Your Angle
Some famous places have been photographed the same way a million times. Try to shoot from different angles to capture something new and interesting. Get close to the ground or shoot through something like a window or tree branches.
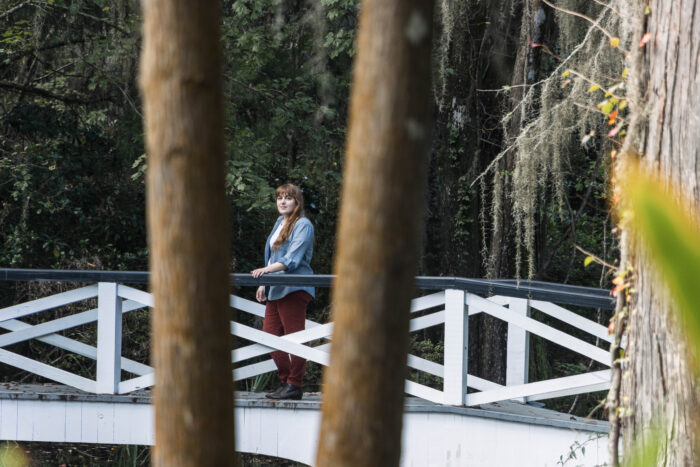
Changing the angle when taking a photo of something popular has another benefit: less crowds! Here’s an example. Nearly every family who has been to Disney World has taken a photo on Main Street in front of Cinderella’s Castle. The problem is–it’s Main Street. It’s crowded at all times of the day.
My solution on our last trip was to take a photo off to the side of the castle. There weren’t nearly as many people over by the Sleepy Hollow food stall.
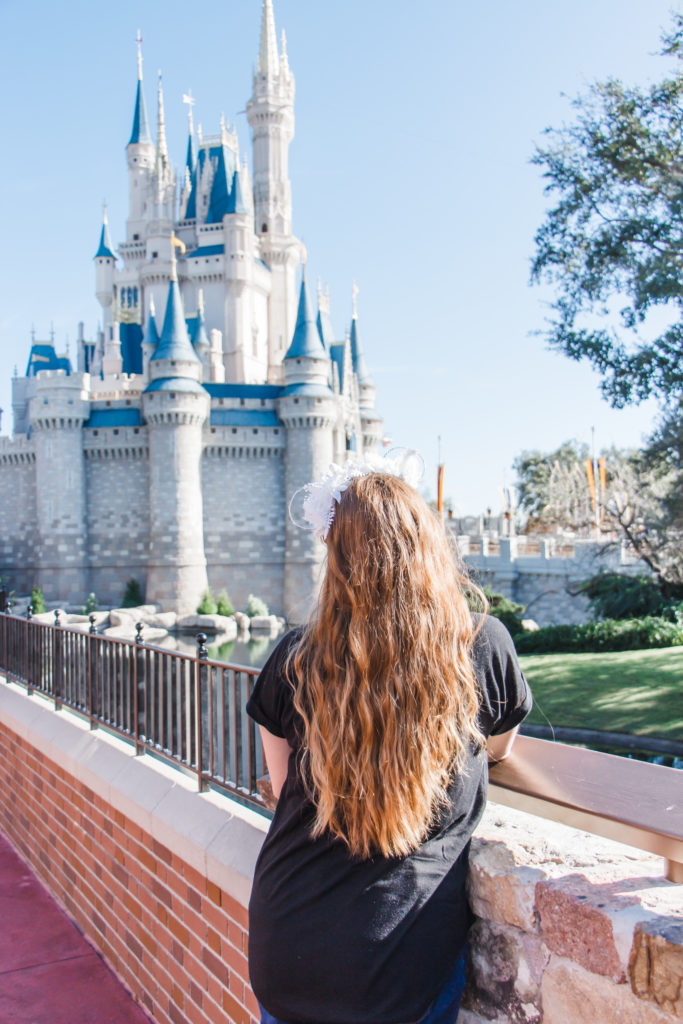
To find out more awesome photo spots in Disney World, check out this post:
Instagram-Worthy Places in Disney World
Know the Best Time of Day to Take Photos
Most photographers will tell you that the best time to take a photo outside is early in the morning or right before the sun sets. The light at sunrise or sunset is always better than the light at noon. Plus, you’ll probably have lower crowds if you get up early or stay out later than others.

Check out this post to find out more about picking the best time of day to take photos.
Wait Out the Crowds
If you’re taking photos in a crowded area, wait for people to pass by. Usually, you can get a clear area if you’re just willing to wait.
This photo spot was at the entrance to the greenhouse at Bellingrath Gardens. People kept coming in every few minutes, so we patiently waited and took photos in between them coming in.
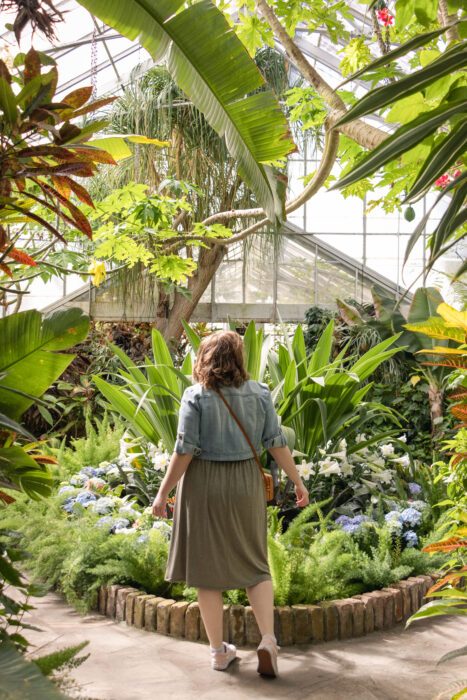
Obviously, you don’t want to inconvenience people and get in the way, and you might feel weird standing in one spot forever just waiting. But to get a better photo, sometimes it’s worth it! You’re probably never going to see those people again anyway.
Another option is to take a long exposure shot of a still scene using a tripod. This will eliminate any moving objects.
You can also manually cut out other people with Photoshop, but that can be difficult and time-consuming depending on the scene.
Bring a Small Tripod
Using a tripod will not only get rid of camera shake and give you sharper images, but it can also help you achieve more variety in your photos.
If you’re traveling with a group, obviously a tripod will help you get good group photos without having to constantly ask strangers to take your picture. But it can also help if you’re traveling solo.
In my experience, asking someone to take your photo doesn’t turn out great. The chance of randomly selecting a stranger who knows how to take good photos with a camera or even a phone is slim to none.
Using a tripod can eliminate the need to ask others for help and can allow you to better capture what you see. It’s hard to get someone else to know your vision for a photo without showing them.
I use this tripod for my camera and this smaller flexible tripod for my phone.
Wear something cute and comfortable
If you’re not comfortable in the clothes you’re wearing, it’s going to show in your photo. Ideally, you can wear something that makes you feel comfy and cute at the same time, but it’s really all about your confidence.
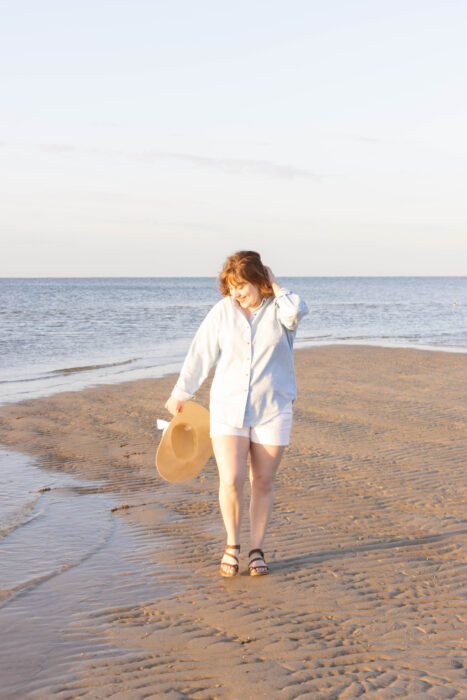
I was freezing cold during this sunrise photoshoot at Long Beach, MS. But I really liked my outfit, so I ended up liking the photos!
You can take a great photo in a beautiful place, but if you don’t like the way you look in the picture, you’re not going to want to look at it or share it with anyone.
Trust Your Instincts and Be Creative
Take the photo even if you think it will look like garbage. You might be able to edit it later. It’s better than not having a picture!
It’s okay to stay in one place for a while taking photos from different angles and trying out new things.
You don’t have to take only one or two photos and then rush to the next place. I hate going through my photos from a trip and thinking “Why didn’t I take a photo from over there? Why did I only get one shot of this?”
Don’t be afraid to experiment and be creative!
[the_ad id=’2456′]
Take Photos of Everything!
Get a variety of subjects. Take photos of the people in your group (or yourself), places you visit, things you see, and food you eat. This makes all the photos as a whole more interesting than just a bunch of pictures of landscapes.
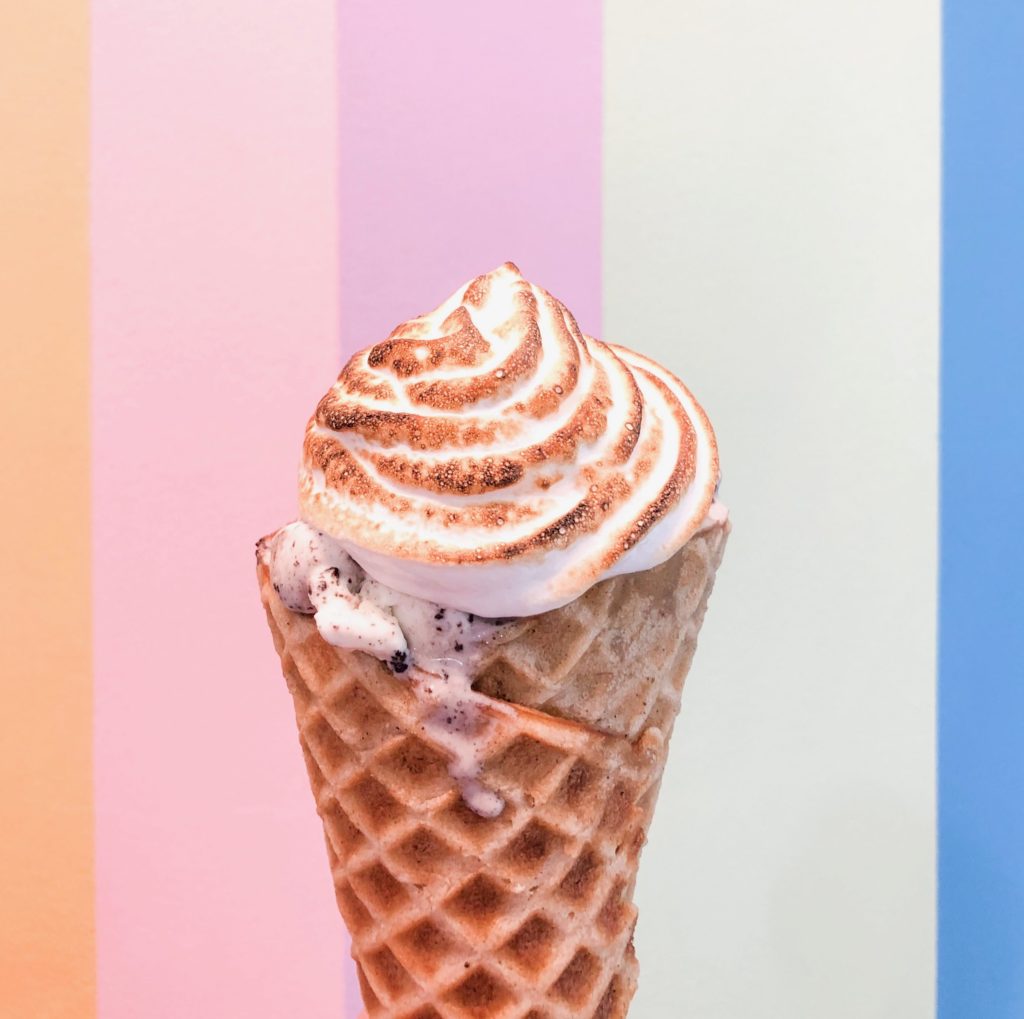
I have a whole post all about food photography, because who doesn’t love to eat!
How to Take Better Food Photos When You Travel
Learn about Composition
Composition is a scary word for someone who doesn’t know much about photography. However, learning how to frame your photos in-camera can drastically improve your photography skills. And it doesn’t have to be hard!
Straightening your horizon, looking for leading lines, and using the rule of thirds are just a few easy composition techniques that will help you take better photos on vacation.
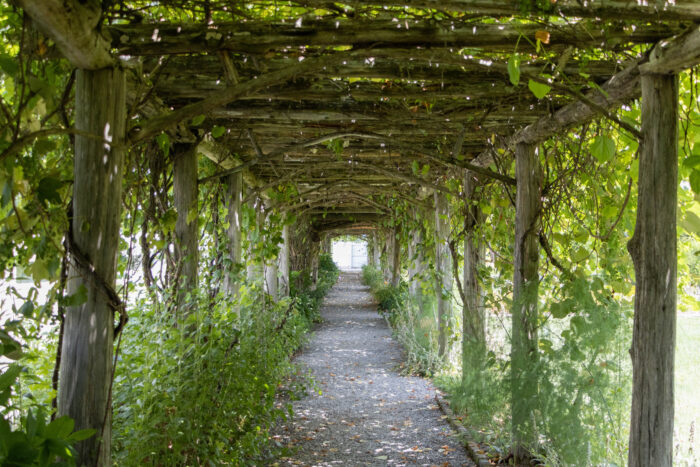
The posts of this tunnel act as a natural frame within the image, and the lines lead your eye towards the center of the photo.
Learn super easy and applicable tips for photography composition in this post:
Take Better Photos with Any Camera: Composition
Bring the Right Gear and Know How to Use it
If you’re reading this post, you probably use a digital camera or maybe even film. I personally love Canon, and I shoot with a Canon 90D DSLR. Of course, you can also take great photos on your smartphone very easily.
My point is, you can take great photos with any camera or phone. It’s all about knowing how to get the best results with the equipment you have. Buying a fancy camera won’t magically improve your travel photography.
If you’re not ready to invest your money or time into learning how to shoot on a DSLR camera, check out these iPhone photography tips:
The Best iPhone Photography Tips for Beginners
The Best Advanced Tips for iPhone Photography
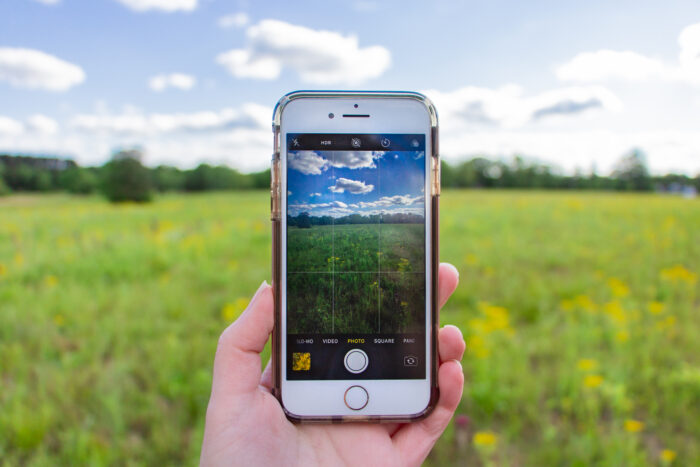
If you want to bring your DSLR, mirrorless, or film camera, don’t go overboard with gear. For example, bring a zoom lens instead of a bunch of prime lenses. Unless you are going on a trip with the intention of having a professional photo shoot, a zoom lens is much more convenient.
My favorite lens for travel is the Canon 18-135 mm f3.5/5.6. (The Nikon equivalent would be the Nikon 18-140mm.)
Plan ahead for activities that you might need special gear. If you know you’re going to be spending a lot of time in or around water, you might consider investing in a GoPro camera. These are awesome for underwater activities or extreme sports.
Edit Your Photos
Before you run away scared of the techy side of editing photos, let me just tell you: editing doesn’t have to be hard!
Photos usually look better with a little bit of tweaking, even if it’s just brightness and color adjustment.
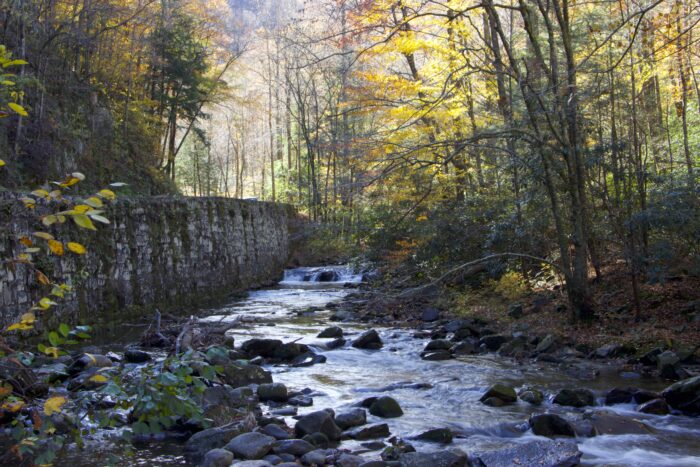
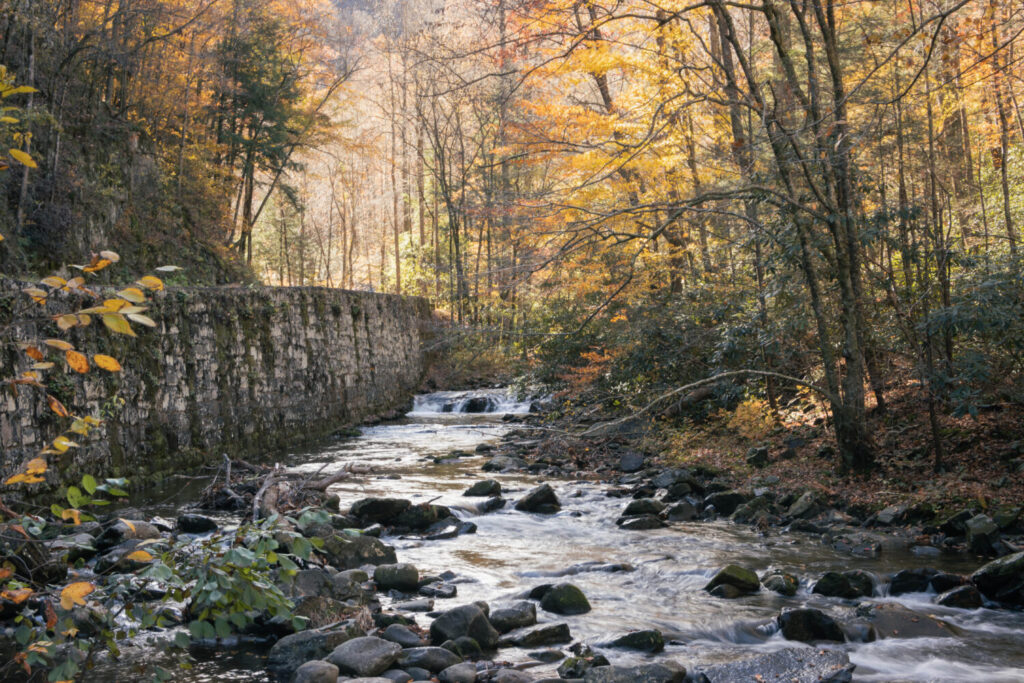
Below you can see a photo of a beautiful creek in the Great Smoky Mountains. The photo is alright, but a little editing goes a long way. Below that photo, you can see the finished product after I edited the lighting and made the colors more true to life.
Learning how to edit well takes time and practice. That’s why so many photographers, even professionals, use presets.
A preset is just predetermined settings that you can apply to your photo in one click. I edit in Adobe Lightroom, and you can also use the Lightroom mobile app for free.
I have a free Lightroom mobile preset that’s perfect for editing travel photos or for pictures from your everyday life. Get the free Everyday Preset by joining my email list!
Recommended reading: How to Download and Use a Free Lightroom Mobile Preset
Just Be Yourself
You see a lot of posts out there about how to pose better in photos, and that’s great. Knowing how to pose in photos makes you feel more confident and really does make you look better! But not every photo has to be posed and carefully arranged.
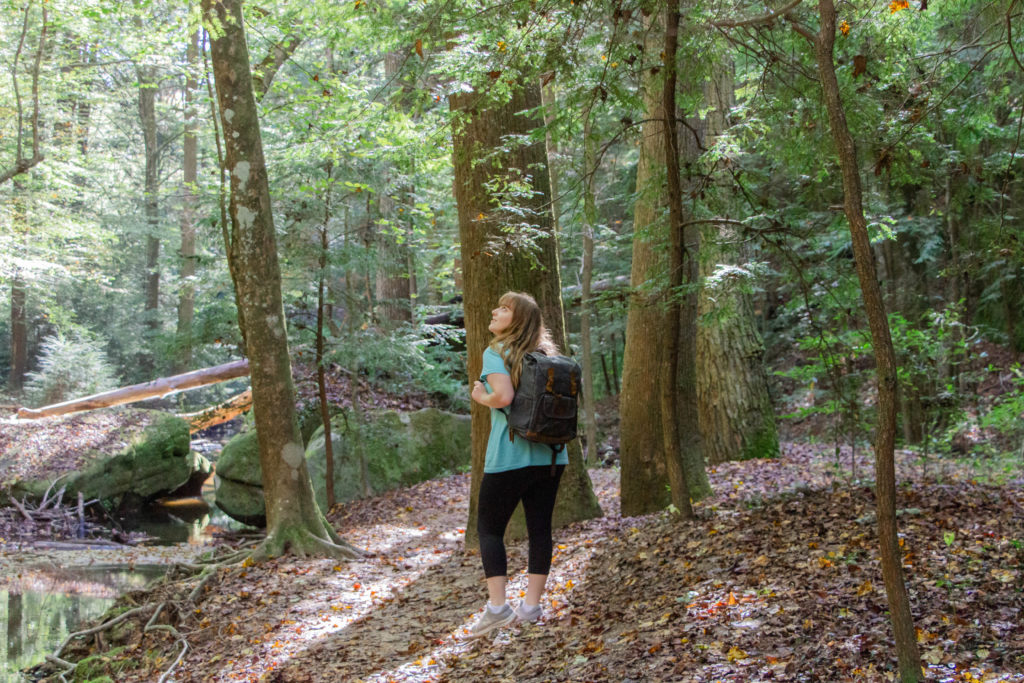
Part of taking better travel photos is learning how to tell a story with your photograph. Taking candid photos can do just that. Of course, the best photographers know how to pose you to make it look candid!
Instead of just smiling at the camera and saying cheese, try looking off to the side, talking to someone in your group or a local, or giving a fake laugh to make the picture look more authentic.
Practice, Practice, Practice!
I know no one likes to hear this, but to excel at anything, you must practice!
Practice your photography skills everywhere, even if you’re not going anywhere exciting. Take your camera or phone on a walk and take photos of interesting things on the way. Pay attention to lighting and backgrounds. The more you practice, the more your basic photography skills will improve!
These simple travel photography tips can be applied whenever you’re taking photos, not just on vacation! Do you know any more easy photography tips for travel? Let me know in the comments!
And don’t forget to subscribe below to get access to the free resource library, which includes the free Lightroom Mobile Preset!
Recommended:
My Photography Gear: What’s In My Camera Bag
Beginner Tips for DSLR Photography You Need to Know
Pin it:
Thank you for sharing this insightful blog post on how to take better travel photos! I found the tips and techniques shared in this post to be incredibly valuable. From understanding lighting and perspective to capturing unique moments and emotions, these tips are practical and inspiring. I especially appreciate the emphasis on storytelling through photography and finding one’s own style. Can’t wait to implement these tips on my next travel adventure and capture even more memorable moments!
I adore these trip photography advice recommendations so much! A game-changer for original images is switching up your angles, and sunrise and sunset illumination are sheer beauty. In congested areas, patience is rewarded as well. I appreciate you providing these wonderful advice.